Table of Contents
Green Screen Techniques For Beginners
Green screen technology, also known as chroma keying, is a technique used in video production and photography to replace a solid-colored background with another image or scene. At its core, it allows for seamless integration of different visuals, creating the illusion of an environment or setting that’s entirely different from the one being filmed.
The concept of green screen has been around for decades, evolving alongside cinematic techniques. It became a staple in the film industry, particularly due to its ability to create Hollywood-style effects without the need for expensive sets or locations. Originally, filmmakers used blue screens, but they shifted to green as it was easier to light and distinguish from human skin tones.
Green screens are indispensable for content creators because they provide the flexibility to develop varied content without leaving the studio. They’re especially popular with YouTubers, streamers, and small businesses looking to elevate their brand videos or virtual meetings. This technology is key in producing polished content that captures viewers’ attention.
A solid understanding of green screen basics lays the foundation for creating content that’s visually appealing and professional. You’ll spend less time troubleshooting and more time crafting your unique story or message. Whether you’re shooting an epic space adventure or making a simple promotional video, mastering green screen techniques opens up endless possibilities for creativity.
Essential Equipment for Beginners
Getting started with green screen technology doesn’t require a mountain of equipment, but it’s important to choose your gear wisely to achieve the best results. Here, I’ll break down what you need and what to look for as a beginner.
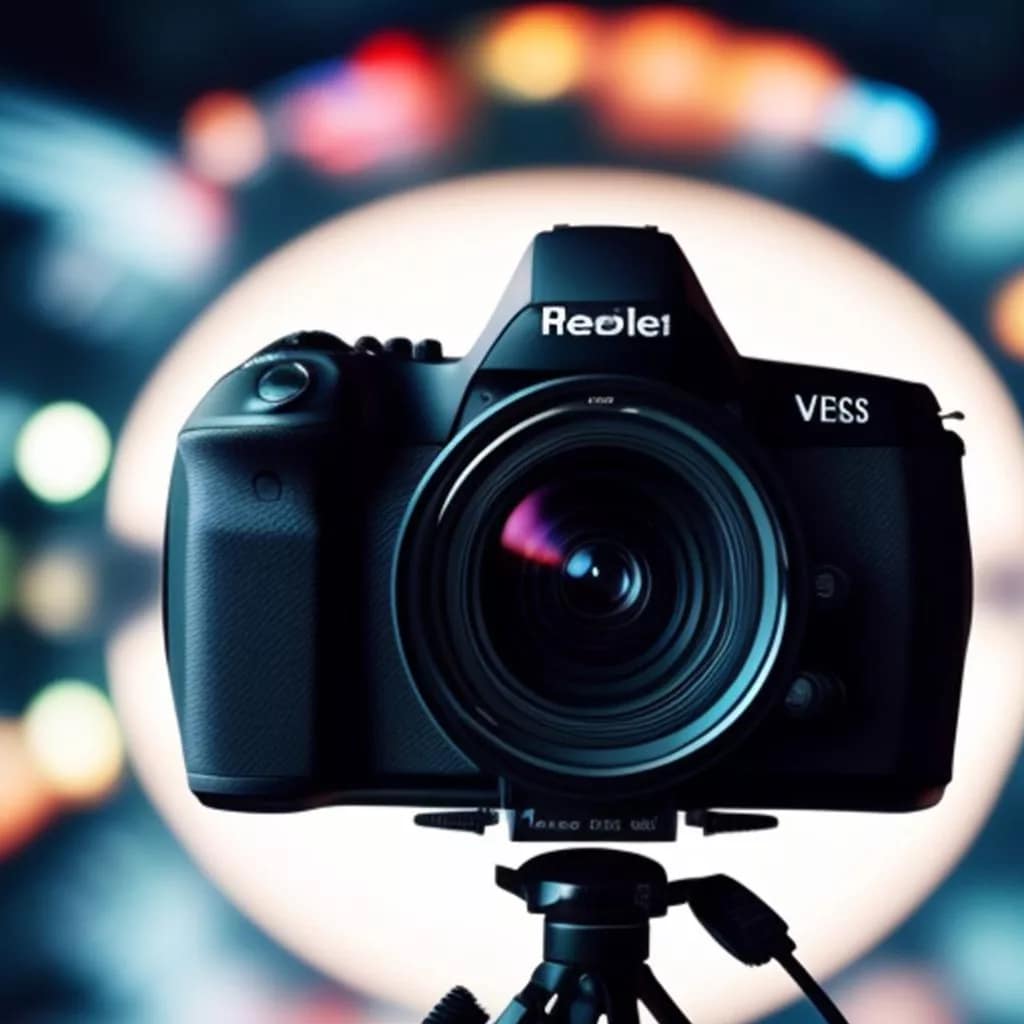
First up, you’ll definitely need a basic camera setup. While high-end professional cameras can be impressive, a decent DSLR or even some advanced smartphone cameras can do the trick when you’re just starting out. Focus on getting something with good video resolution and manual controls for adjusting exposure and focus.
A sturdy stand or tripod is crucial. This helps keep your camera steady and at the right angle, which is key for getting professional-looking shots. Look for one that’s adjustable and compatible with your camera model or phone.
When it comes to the actual green screen, you have options ranging from fabric to paper or even collapsible screens. Each material has its pros and cons. Fabric is reusable and durable but may require some ironing to keep wrinkle-free. Paper tends to create smoother backgrounds but is less durable. Choose what fits your space and budget.
Lighting is your next priority. Proper lighting ensures that the green screen works effectively by eliminating shadows and creating an even tone. Softbox lighting kits can be affordable and are a great starting point for beginners. Aim to have at least three lights: two in front for the subject and one for the background.
Lastly, audio shouldn’t be overlooked. While it’s not directly related to the green screen, clear sound can make or break your final product. An external microphone, like a lapel or shotgun mic, can significantly enhance your audio quality.
Getting your setup doesn’t have to break the bank. There are lots of budget-friendly options out there, from second-hand gear to DIY solutions. The most important thing is to start practicing with what you have, and upgrade as you get more comfortable.
Set Up Your Green Screen Studio. A Step-by-Step Guide
Choosing the right spot for your green screen studio can make all the difference. Ideally, you want a room with enough space to let you and your camera move freely without cutting into the backdrop. A room with some natural light is a plus, though you’ll likely need additional lighting for the best results.
Start by positioning your green screen. It should be flat and stretched out with no wrinkles, as these can cast shadows and make editing a pain. Some screens come with stands, but it’s also possible to secure them with clips or tape if you’re working with a fabric screen.
Your camera should be lined up at eye level with the subject to avoid weird angles. Make sure there’s enough distance between the camera and the subject to fit everything you need in frame, while keeping the green screen fully in the background. It’s crucial to mark your shooting area with tape or small markers on the floor so you know where to stand and where to frame your shot every time.
When arranging lights, the setup follows a basic three-point lighting plan: two lights in the front at 45-degree angles to illuminate the subject and one more behind to reduce shadows on the backdrop. Your goal is to create a balance where the lighting on your subject and green screen is even and natural-looking.
Keep in mind background clearance. Make sure your subject doesn’t stand too close to the green screen. This way, you’ll avoid shadows and light reflections that might interfere with chroma key removal during editing.
Finally, run test shots to see how everything looks on screen and make any necessary tweaks. It may take a little trial and error, but once you nail down your setup, the process becomes much smoother. Getting into the habit of checking this before every shoot can save loads of time in post-production.
Lighting Techniques for a Flawless Background
Good lighting is a game-changer for anyone using green screen technology. It’s what allows your subject to stand out without casting pesky shadows on the background. Managing your lighting setup can turn a simple video into something that looks super polished.
When setting up your lights, there are three main types to consider: key light, fill light, and backlight. The key light is your primary source of illumination and should be set at about a 45-degree angle from your subject. This light creates depth and emphasizes features, but don’t let it be too harsh.
A fill light, placed on the opposite side of the key light, helps soften the shadows and balance out the lighting. You want it a bit dimmer than the key light to keep those shadows from getting too pronounced.
The backlight, sometimes called a rim or hair light, is placed behind the subject. Its role is to separate them from the green screen, reducing shadows and enhancing the overall look by giving a slight edge glow. This tiny detail adds depth to your shot and prevents your subject from looking flat.
Watch out for common pitfalls like uneven lighting or unwanted spots, also known as “hotspots.” These occur when lights are too close to the screen or aimed directly at it. Adjust the distance and angle of your lights until you achieve a uniform glow across the screen.
If you’re working in a tight space, softbox lights can help disperse light evenly and reduce the chance of glare. Their diffusers create a soft, flattering light that works wonders for skin tones too.
Take time to experiment with where you place each light until everything looks just right. Everyone’s space and equipment will be different, so there’s no one-size-fits-all method. Once you find a setup that works, be sure to document it for consistency in future projects.
Filming Tips for Getting the Best Results
Framing your shot correctly can make or break your green screen effects. Keeping your camera at eye level with just enough distance to include all elements makes editing much smoother later on. It’s helpful to use tape or markers on your floor to remember precise spots for consistent results.
Wardrobe choices play a big role. Anything green or even close in shade to your backdrop is off-limits, unless you’re aiming for an invisible look! Solid colors and textures work best, avoiding any overly shiny or reflective fabrics which can pick up unwanted light reflections.
Minimizing shadows and reflections is crucial. While keeping away from the green screen helps, it’s also important to tweak your lighting setup until you achieve an even look. Occasionally, small light adjustments or adding a softbox can mitigate stubborn shadows.
Camera settings should be optimized for clarity and quality. Higher shutter speeds can reduce motion blur, creating cleaner lines for editing. A steady tripod is non-negotiable to prevent any shaky footage which can complicate the keying process.
Focusing on consistency across your shots keeps your footage seamless. Maintain the same camera settings, angles, and lighting conditions throughout your shoot. Sudden changes can become glaring during the editing phase, leading to an unnatural final product.
Editing and Post-Production = Bringing Your Project to Life
Editing is where the magic of green screen comes to life, transforming your recorded footage into a compelling visual narrative. The first step is selecting the right video editing software. Beginner-friendly options like Adobe Premiere Pro and DaVinci Resolve offer powerful features that make chroma keying straightforward and efficient.
With your software ready, import your footage and start with chroma keying, which involves selecting and removing the green background. Most editors will have a ‘keying’ effect that lets you select the green with a color picker tool. Fine-tune the edges around your subject by adjusting settings like ‘tolerance’ and ‘softness’ for a cleaner cut-out.
Once your background is gone, it’s time to insert your virtual backdrop. Ensure this layer sits directly below your keyed footage in the timeline. Play around with its position and scale to make the transition seem natural and cohesive with your subject.
Adding special effects can elevate your project. Subtle light flares or motion graphics can add depth, but always remember that less is more. Overloading your scene with effects can distract from your message.
Keep an eye on audio quality throughout the editing process as well. Clear audio complements good visuals, making your final product more engaging. Syncing voice with visuals and eliminating any background noise enhances the overall viewing experience.
Practice and patience are key in post-production. With each project, you’ll find ways to improve your techniques and discover new tricks. The more you edit, the more intuitive the process becomes, allowing your creativity to really shine.
Get in touch
For optimal video SEO, it is crucial to strike a harmonious equilibrium and execute tactics that correspond to your unique content and intended viewership. Don’t hesitate to contact us for a customized estimate and elevate your video content to unprecedented levels of accomplishment.
First steps as a vlogger?
Visit Vlogsuite with tips and tools for vloggers
Wishing you the best of luck in achieving the top position!
May you soar to rank #1 and celebrate your success with joy and excitement! 🚀 🏆🎉
Good luck ✨


